
Modding
10 Tools Every GBA Modder Needs

Sep
Welcome! This is your first step to modding safely, cleanly, and confidently ... even if you have zero electronics knowledge!
Modding a Game Boy Advance is exciting, but it can also feel overwhelming if you’re new. The right tools make everything easier: cleaner solder joints, fewer mistakes, and a console that actually works when you put it back together!
This guide shows you the 10 essentials I use in every build, why they matter, and what to avoid so you don’t waste money.
1. Precision Screwdriver Set
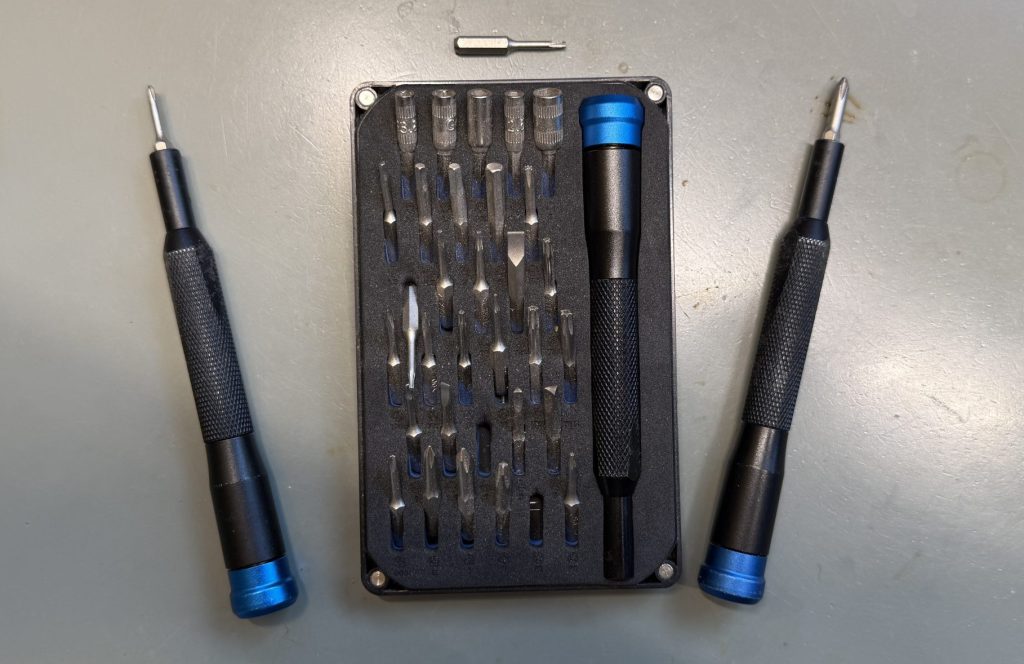
Why it matters: Safely opens GBAs/SPs without stripping fragile and old screws.
Pro Tip: Get magnetic drivers so tiny screws are easier to work with and don’t vanish from your mat!
In the full course: I show you a step-by-step disassembly method that protects shells and boards.
2. Soldering Iron (fine-tip w/ temperature controls)

Why it matters: Clean, controlled heat for IPS screens, USB-C and audio mods.
Pro Tip: For GBA work, 630F to 690F is usually a sweet spot. If it’s too hot, you could damage components. If it’s not hot enough, you get dull joints and connections.
In the full course: I demo tip tinning and solder techniques so joints come together fluid, shiny and solid.
3. Solder (60/40 rosin core, ~6mm)

Why it matters: I use leaded solder because it flows quickly and built in flux aids ease of work.
Pro Tip: With solder, you get what you pay for. If you go cheap, you’re gonna have a bad time. Buy the good stuff and have more success!
In the full course: I’ll show you how to prep the iron and wick any mistakes you make, cleanly.
Want the printable version of this guide?
Get the FREE Checklist PDF ⬇️
4. Flux Pen
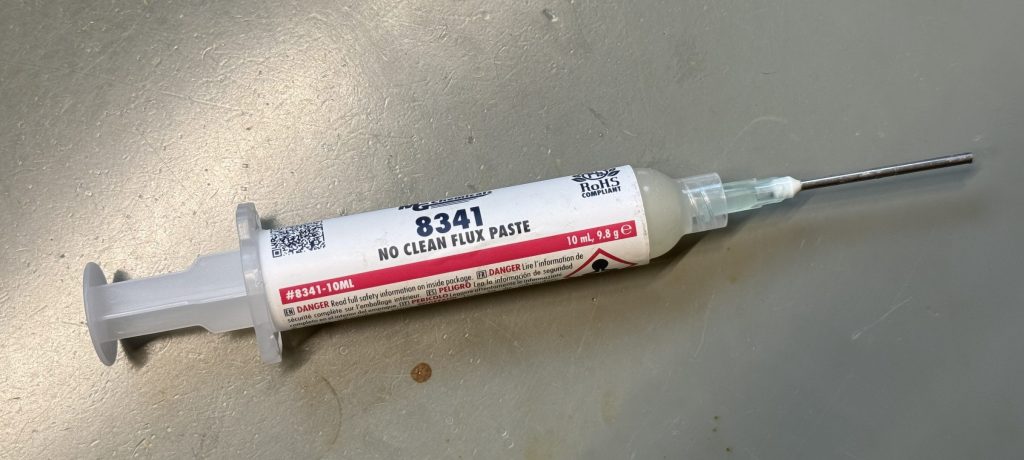
Why it matters: Flux cleans metal surfaces and helps solder flow smoothly. Without it, joints are messy and weak.
Pro Tip: A flux pen is easier to control than a paste. That means less cleanup, more precision.
In the full course: I show how flux makes the difference between dull, crumbly joints and professional, shiny ones.
5. Flush Cutters / Snipper Tool
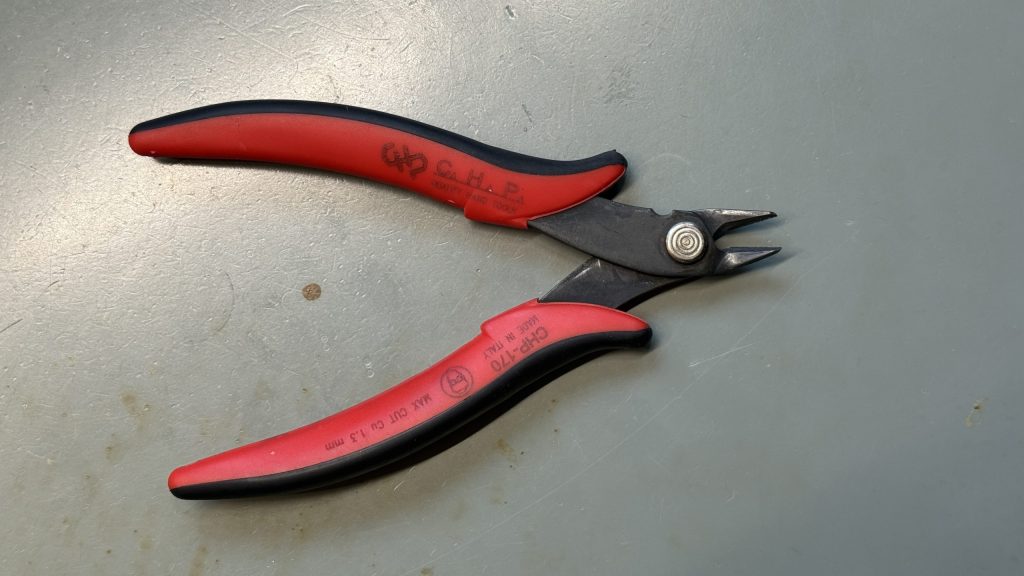
Why it matters: Cleanly trims excess wire and leads, preventing shorts and keeping your board neat.
Pro Tip: Don’t use household scissors! You’ll mangle the wiring and make things a lot harder on yourself!
In the full course: I show how to prep and trim wires correctly before soldering them into place.
6. Precision Tweezers
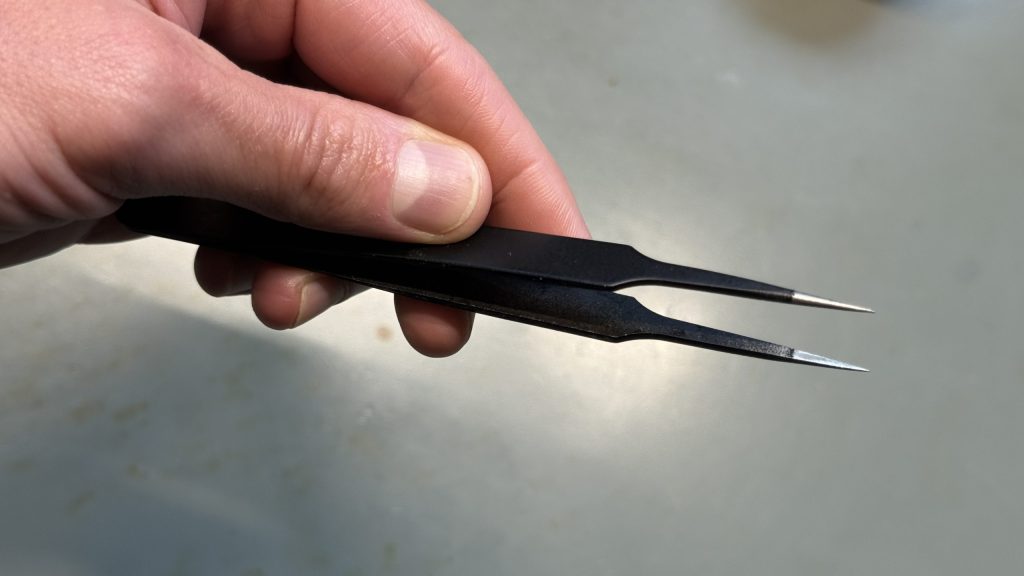
Why it matters: GBA components are tiny. Precision tweezers and a helping-hands stand keep parts stable while you solder.
Pro Tip: Anti-static tweezers protect delicate parts from static discharge.
In the full course: I walk you through how to set up a workstation so nothing slips while soldering.
7. Isopropyl Alcohol (IPA) + Toothbrush
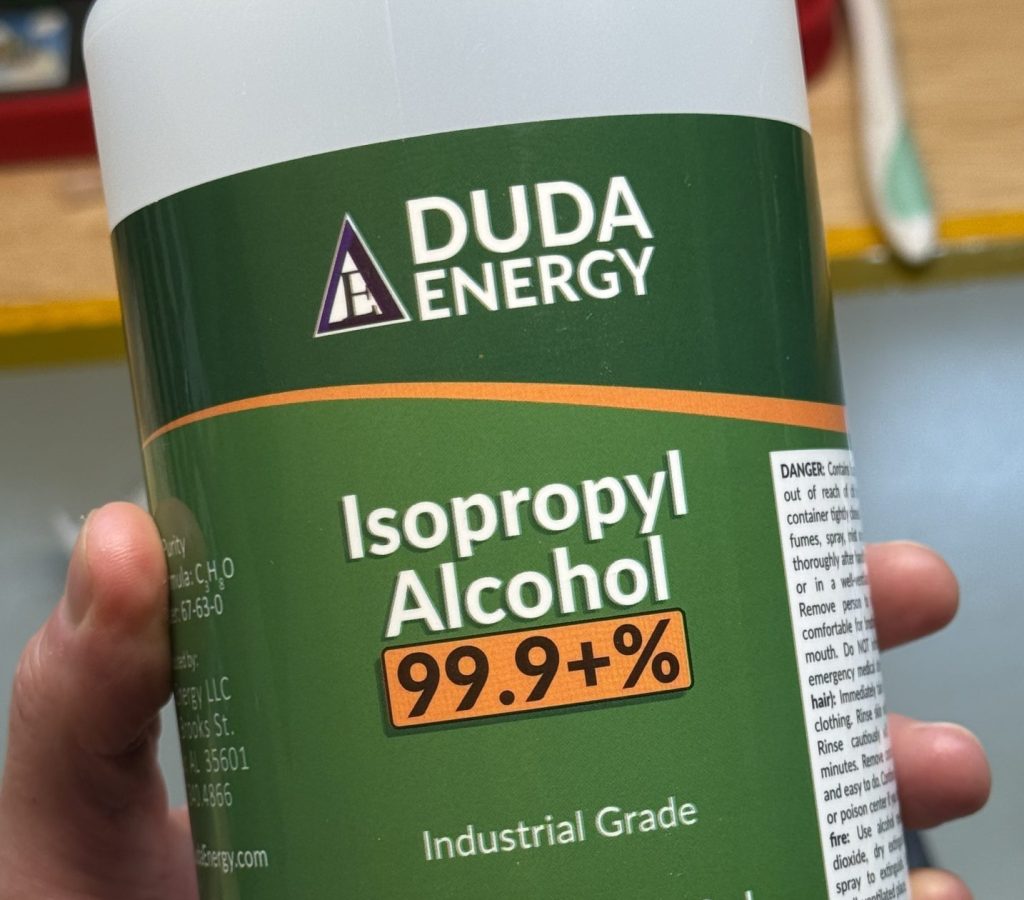
Why it matters: Cleaning removes old flux, dirt, and corrosion which makes your board safer and longer-lasting.
Pro Tip: Use 90%+ IPA for the best results. Lower % has too much water and dries slowly.
In the full course: I demo how to rescue a corroded board from battery leakage and bring it back to life.
8. Desoldering wick

Why it matters: Mistakes happen. Desoldering tools let you safely remove solder without damaging pads.
Pro Tip: Always keep fresh braid on hand because you can’t re-use the wick once it’s soaked up solder.
In the full course: I demo how to undo solder mistakes cleanly, so you can practice without fear.
9. Multimeter
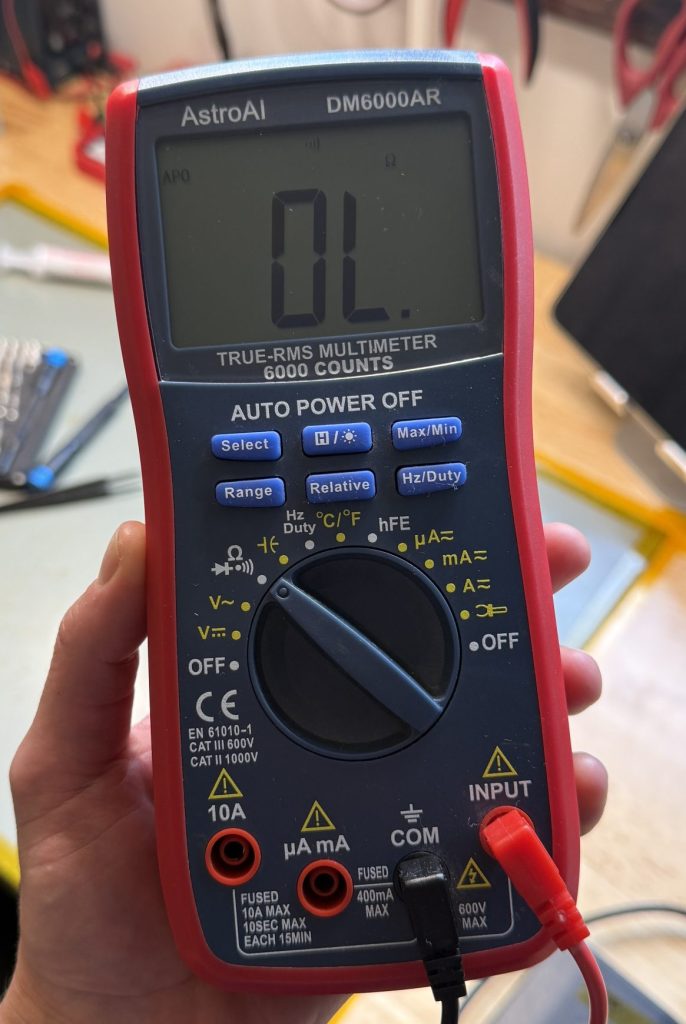
Why it matters: Lets you test continuity, voltage, and check if circuits are alive. Essential for diagnosing power and audio issues.
Pro Tip: Start with a budget-friendly digital meter because accuracy matters more than fancy features.
In the full course: I show you exactly how I use a multimeter to diagnose a “dead” GBA before deciding what to fix.
10. Heat-Resistant / ESD-Safe Soldering Mat
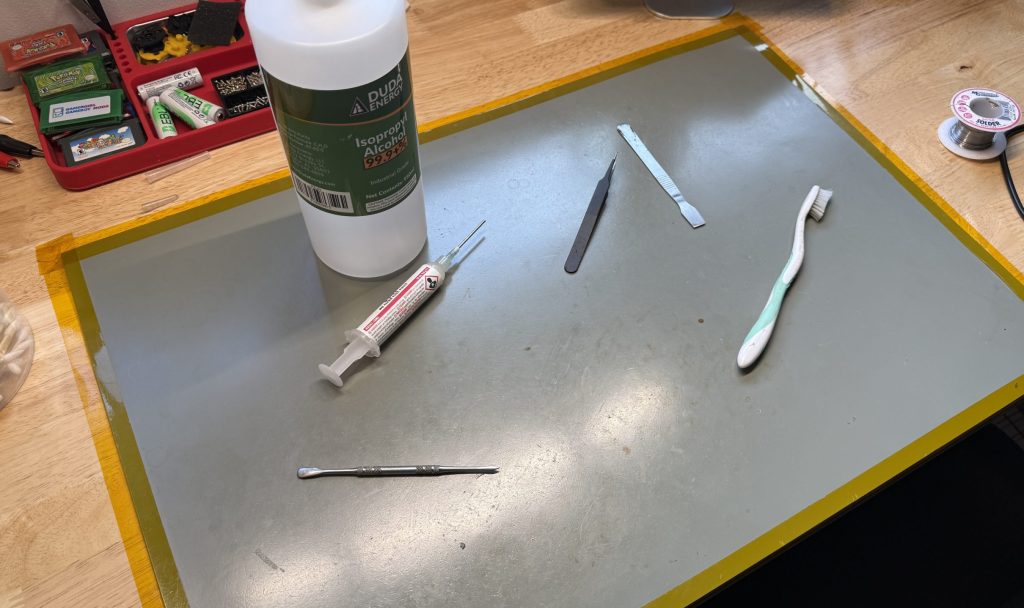
Why it matters: Protects your desk from heat damage and protects consoles from static discharge.
Pro Tip: Get one with magnetic part tray built-in so you can save yourself from losing any screws.
In the full course: I show my exact workbench setup and how to keep every part organized for faster, cleaner modding.
Want the printable version of this guide?
Get the FREE Checklist PDF ⬇️
Frequently Asked Questions
Do I need all 10 tools to start?
No! I recommend you start with screwdrivers, IPA/brush, and a safe work mat. Add a soldering setup when you’re ready for screen/power/audio mods.
How much does it cost to get started?
Basic tools can be picked up for $50–$100 if you shop smart. A complete setup with soldering gear, multimeter, and ESD mat runs $150–$200.
How long does it take to mod?
A first-time screen swap could take a newbie around 2 hours, depending on how the disassembly process goes and how fast someone moves. However, if you’re going for something like an “ultimate”, after install of all upgrades and testing, it could be around 4 hours. Keep in mind, sometimes modding is easy, and sometimes you run into things you weren’t expecting. Plan accordingly!
Can I mod without soldering?
Some cosmetic swaps are solder free. But performance mods like a new IPS screen, audio amplifier, and even USB-C require some soldering skills. The full course will teach you everything you need to know about soldering, even if you have ZERO knowledge of electronics!
Leaded vs. lead-free solder?
Leaded (60/40) flows easier at lower temps and is great for beginners. Ventilate your work space and wash your hands after use. Lead-free works … but requires higher temps, more flux and is generally just more fussy to work with.
What temperature should I use?
Most GBA work should be done between 630F and 690F. Make sure you practice on junk or scrap first before going all in on your first mod. The full GBA modding course will prep you and your soldering iron for clean, mistake-free repairs!
What is the hardest part for beginners?
The fear of soldering – anyone can do it! If you are worried, I recommend a starter soldering kit aimed at young adults. You can find those on Amazon. My first soldering project was a vibrating spider that you had to assemble and solder joints.
Do you have any recommended brands of equipment?
I prefer anything Hakko brand. iFixit screwdriver kits are amazing and come LOADED with all the bits you’ll ever need. MG chemical is my go-to for flux and solder. Most other consumables like solder wick or kapton tape can be bought from any random Chinese seller on Amazon at the time.
That sums it up --The 10 essential tools that every GBA modder needs.
With these in hand, you can safely open your console, clean it up and get ready for upgrades that make a huge difference.
Brighter screens, rechargeable batteries, louder audio and handheld that feels like new again!
But the tools are only half the story. The real challenge is learning how to use them the right way. That’s where most beginners get stuck. And it’s exactly why I created my Mod Like A Pro GBA Course.
Inside the course, I show you step-by-step:
How to disassemble and reassemble your console without damage
How to solder like a pro (even if you’ve never held an iron)
How to install IPS screens, USB-C batteries, audio amps, and more
How to troubleshoot and fix common mistakes
If you’re serious about bringing your dream handheld to life, this is the next step!

Ready To Go From Tools→ Results?

In Mod Like a Pro, I walk you through full disassembly, clean soldering technique, IPS installs, USB-C power, audio upgrades, and troubleshooting step by step, with close-ups and part lists.
PLUS you’ll get access to all new repair videos and content posted to the modder’s video portal!